Which laminator is right for your business?
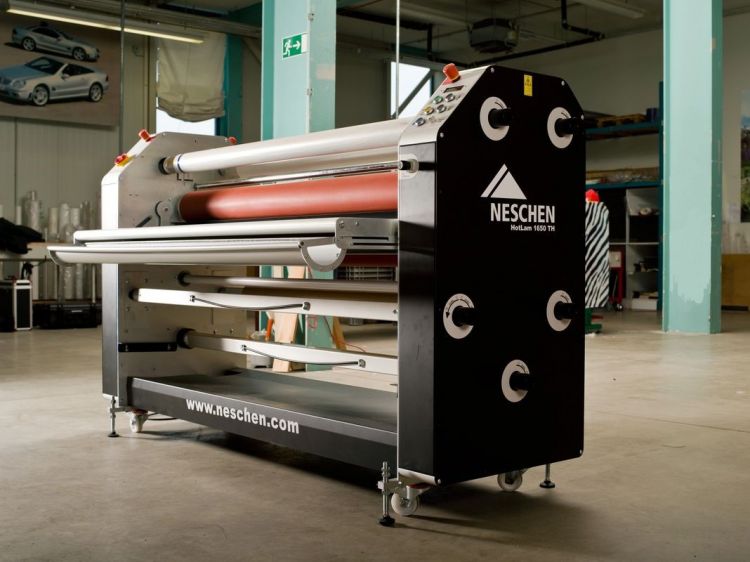
Matt Manteit, International Sales Manager at Neschen Coating GmbH, outlines how to ensure you are investing in the right laminator, highlighting the most important factors to consider.
Whether it is new or existing customers, we often hear the same thing when it comes to lamination: “if laminators are in fact just two rollers and a motor, then why are some of them so much more expensive than others?”
The answer is quite simple; they are just like cars. All of them have four wheels and a motor, but the price difference can be huge. Everybody recognises the differences between a Mercedes and a Skoda or a Dacia, but all of these cars will still take you from A to B.
Unlike these cars, the difference between laminating machines is not always visible from the outside, which can make it difficult to pick the right model. This is perhaps more like when you are trying to decide whether you need a van or perhaps a small pick-up truck for your company.
Many of the machines on the market are presented as a “professional tool for an affordable price”, but the expression “professional” has many different meanings in term of lamination. To use the car analogy again, all of the Mercedes, Skoda or Dacia vehicles are being manufactured in a professional way, but the differences are big.
So, how do you pick the right laminating machine for your company? What are the differences and how do you differentiate between marketing spin and recommended features? The following points will help you find the most suitable laminating machine for your business.
Wish List & Demonstration
First, create a list of the applications you would like to process on the laminator. Specify the needs as much as possible and make a note of these requirements, including the specific materials you will be using on these jobs, while also keeping in mind non-standard projects. Take this list with you as every good supplier should be able to explain what is and what is not realistic to the end user.
When you visit your supplier, make sure you request a demonstration of the machine. A technical data sheet gives vital information, but without touching the machine, it means nothing – especially on a machine that requires manual operation like a laminator. To use the car analogy once again, think of this as a test drive.
Parts of a Laminator – What to Focus on:
Rollers
The Rollers are the most important part of a laminator; their properties and behaviour have a crucial influence on the operator’s efficiency and the quality of the final product.
First off, make sure you check the diameter. As a general rule, bigger is better, as rollers with a bigger diameter tend to bend less, provide equal pressure and during operation apply less tension on the laminating film, which is beneficial when working with cast vinyls or standard laminating films.
A laminator with a bigger roller diameter has a positive impact on the possible amount of shrinkage of the over-stretched laminating film at the latter stage. Shrinkage, caused by over-stretching during the laminating process, usually leads to bleed at the end of a graphic, as well as bending of the laminated boards, lifting corners and edges of the graphic or lifting the graphic from the corrugation.
In addition, a roller with a bigger diameter is better when it comes to laminating onto soft substrates. A bigger roller distributes pressure equally and over a wider area and, therefore, the substrates have less of a tendency to twist.
When considering the roller parameters, also check the thickness of the material. Thicker metal will provide much better stability than thinner steel, even with the same roller diameter. For this reason, stronger and more stable rollers are important for laminating onto harder substrates like MDF and glass.
Another useful parameter to check is the weight of the roller. Good and reliable rollers have a weight of approximately 40kg, meaning two rollers in the machine will weigh about 80kg in total. So, when you see a laminator datasheet and the total weight of the machine is 150kg including the frame, you know what to expect – a less than robust machine.
The last part of the roller you should focus on is the soft coating. This should be thick enough to resist possible grinding of the coating in the future, while the rubber coating should also provide perfect geometry, ideally with a crown shape on one of the two rollers.
Heating
Next up, you should consider the heating of the roller. Even for pressure sensitive adhesives – or so-called cold laminating films – we suggest using a machine with a heated top roller. The temperature should be up to 70°C, with the option to make continual adjustments in small steps. Heated rollers allow the adhesive to flow and, depending on the materials being used, this can have a big influence on the quality of the lamination results.
As heat helps the adhesive to flow, this also helps to prevent or reduce silvering. Typically, a quite difficult application is laminating onto acrylic sheets, but having heat assistance helps a lot. You will appreciate the higher temperatures above 50°C, either when running thicker laminating films or already-laminated graphics through the laminator a second time, in order to improve the silvering.
During the second run, you can afford temperatures much higher than during the first run because the material has already been laminated. Therefore, you can run the material through the machine even faster.
Pressure setup
Each material you work with needs a different pressure setup. For example, laminating cardboards will mean you will minimise the pressure, whereas for laminating thick floor graphic films, this will require as much pressure as possible
Most of the machines on the market offer manual pressure setup, which can cause many problems with pressure distribution and when laminating longer runs.
Pressure settings and the achieved work results, for most of the machines with a mechanical setup, are very inaccurate. This means that if there is a pressure measurement available, it is not always reliable.
At Neschen, our laminators offer a pneumatic pressure system, allowing for both repeatable and exact pressure adjustments. The pressure you see on the manometer display is the actual pressure the rollers are delivering to your graphic, meaning much more accurate results.
Controls and Ergonomics
The control panel on the machine should allow for rotation, changing of speed and direction of the rollers from both sides of the device. This holds especially true if only one operator works with the laminator, as the machine can be easily operated without having to walk around to the other side to reach parts of the control panel.
Coaxial and Torsional Stiffness
All of the rollers and axes have to be exactly parallel on a laminator. This, together with high torsion stiffness of the machine chassis, ensures accurate guidance of the material, even for full roll-to-roll jobs at high speed. If you expect your next machine to run full-roll laminating jobs, make sure to test it on your new laminator before making a purchase.
When discussing chassis strength, there are numerous machines on the market – usually very low-budget machines – which will provide the necessary construction stiffness for the first few months of ownership, but in time, the chassis weakens.
It is for this reason that Neschen offers machines with a sturdy and robust construction. Keep in mind, a laminator is a tool to enhance your business’ profit and it should never be an afterthought to buying a new printer.
To provide a stable, robust and reliable machine construction, Neschen builds its range of laminators with sidewalls made of heavy steel plates instead of a thin metal plate.
Unwinding and Reeling of the Material
Brakes on the unwind and wind-up shafts must be easy to access and to handle, as well as resistant. Inserting the shafts into the machine has to be an easy and smooth process, so consider the weight of the shaft, including the full roll, and ensure that the material slides into the machine quickly.
The measuring scale on each shaft, with the “0” being in the middle of the shaft, is a very helpful tool for setting-up the media and the alignment to the windup shaft.
Ready for Testing?
Last but not least, once you are ready for the testing of your laminator, you should focus on a series of key criteria during the demonstration to ensure it matches your requirements.
First, use greyscale pictures for the test and let the operator laminate at least 20 linear metres. Ask the operator to stop the machine in the middle of the laminating process and check the line on the graphic afterwards; there should be only a light stripe visible – or better still – nothing visible.
Note: For a roll-to-roll full-length test, you can use and laminate standard coloured vinyl, ideally in black.
Next, watch the speed of alignment, accuracy and efficiency of the demonstrated machine, and also be sure to test paper together with lamination. Paper is more inclined to wave than self-adhesive vinyl and remember that this effect will disappear during the day, but some will occur within a few days later, so take your time to evaluate the laminated material.
For machines with a working width in excess of 160cm, you should test laminating onto sheet material, ideally onto PVC foamed boards that are more than 800mm wide. With these formats, you will realise the advantages of a stiff crown being on the top roller as, otherwise, bubbles may occur on the board, even up to a few days after application.
Finally, you should check the safety system. Does it work properly? Are the light-bar, the snail mode and foot switch, as well as other features, working in favour of the operator? Keep in mind, the safety system is there to protect the employee and your business.